Selected and explained by Armand at Greenlytes
Solar Spot Lights
Solar spot lights are built to put useful light on a defined outdoor feature rather than wash an entire area. Compare compact accent models, wider single-head options and a dual-head system according to the subject you want to illuminate, the beam you need and the sunlight available to the panel.
- Focused illumination
- Adjustable aiming
- Built for outdoor use
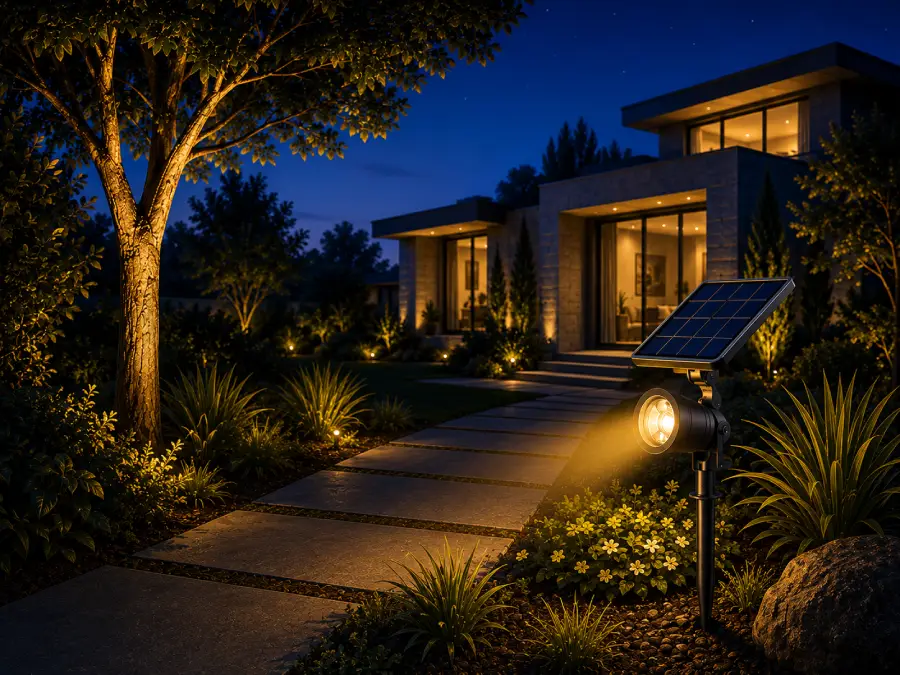
Designed for
Focused landscape lighting
Greenlytes Pick
Featured Product
Our first choice when you need the most flexible aiming and the highest output in this range.
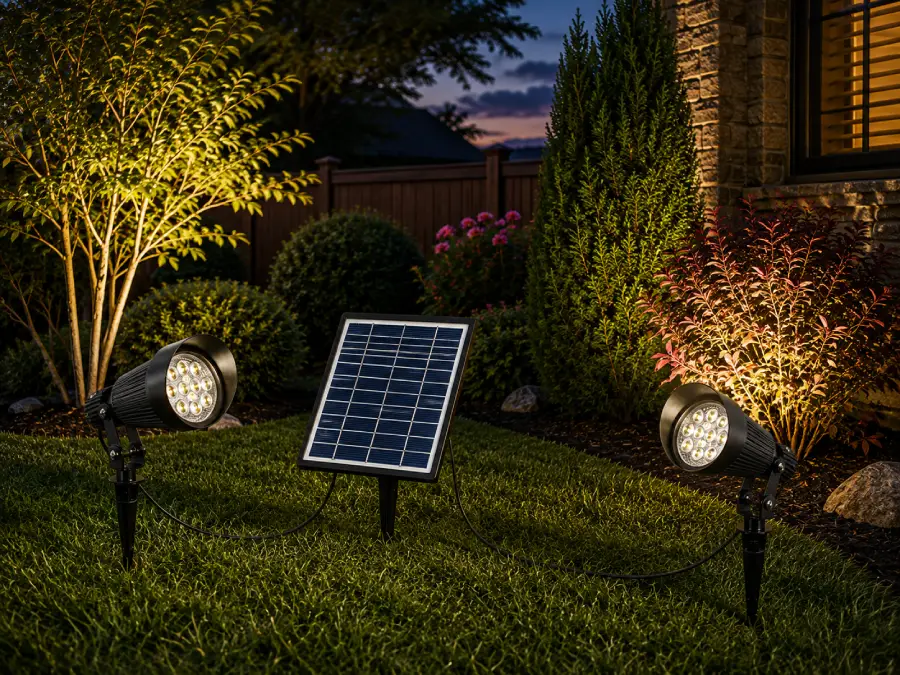
Greenlytes Pick
Commercial Grade Dual Solar Spot Light
Two independently adjustable heads deliver 320 total lumens while a separate solar panel can be positioned for better sun. It is the most flexible choice in this range for lighting two focal points or shaping one larger scene.
- Light output
- 320 lm 160 lm per spotlight
- Max runtime
- 8–12 Hours
- Light color
- Warm white Fixed color
Shop the collection
Choose by the lighting job, not just the LED count.
The four models fill different roles. Start with how much of the subject you need to cover, then compare output and head configuration.
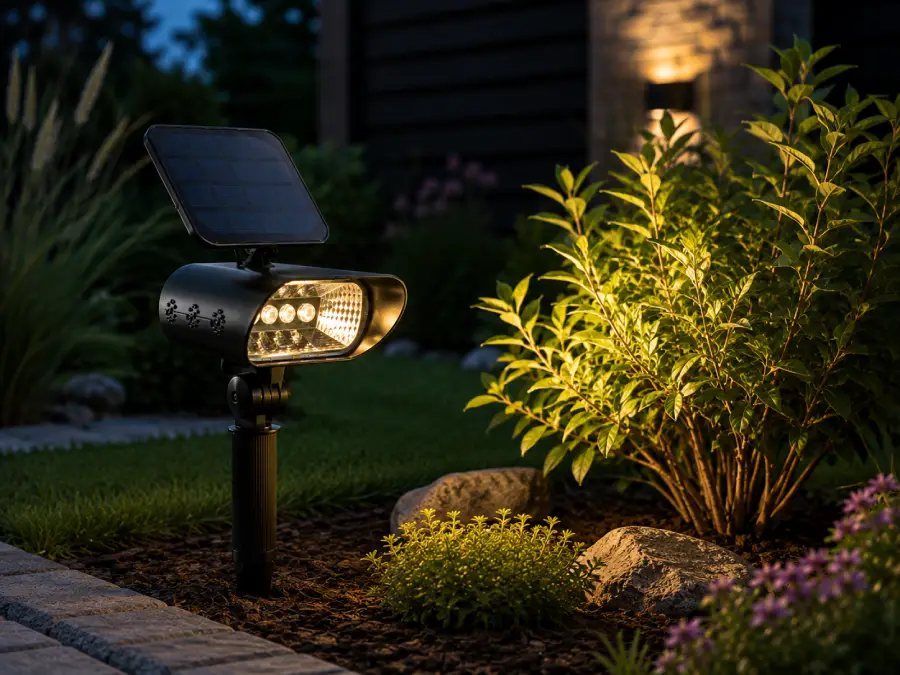
Compact focused accent
4-LED Solar Spot Light
Best for smaller shrubs, signs, path edges and garden details where a tight, simple accent is more useful than broad coverage.
- Light output
- 50–80 Lumens
- LED layout
- 4 × 10 mm White LEDs
- Best for
- Focused Small features
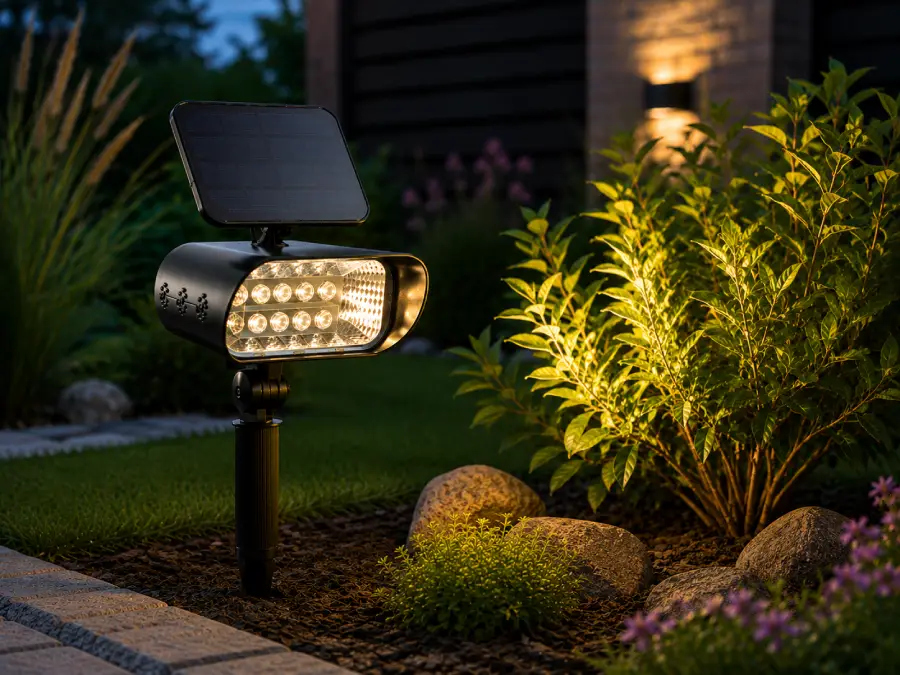
Broader accent coverage
8-LED Solar Spot Light
A stronger fit for planting beds, signs and path borders where you want the light distributed across more of the subject.
- Light output
- 60–90 Lumens
- LED layout
- 8 × 5 mm White LEDs
- Best for
- Spread Beds, paths & signs
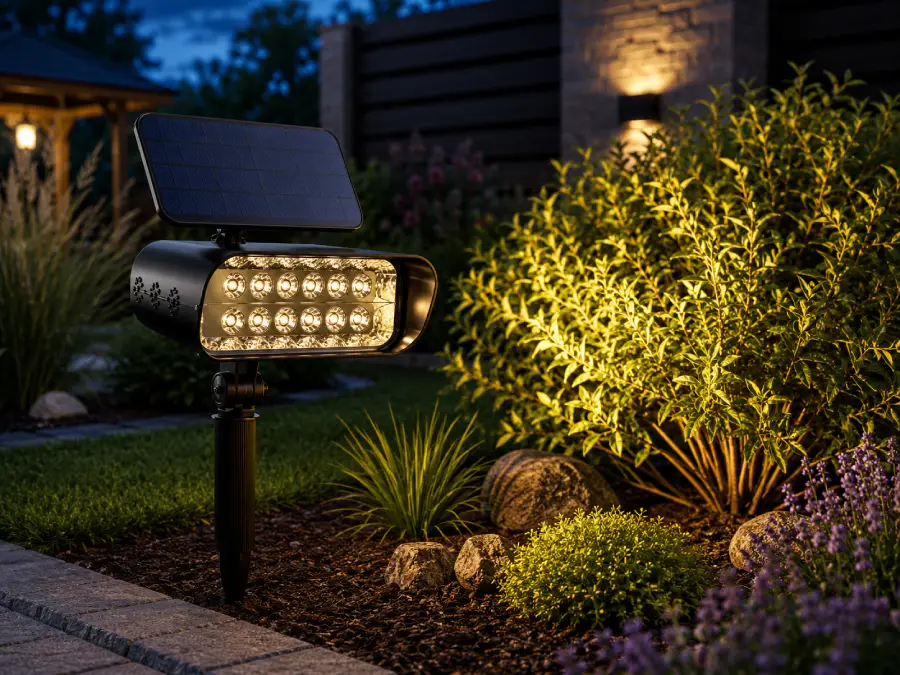
Higher-output single-head option
12-LED Solar Spot Light
Choose it when a wider landscape feature needs more output from one fixture, without moving up to a dual-head or flood-light system.
- Light output
- 90 Lumens
- LED layout
- 12 × 5 mm White LEDs
- Best for
- Landscape Wider features
Two independently aimed beams
Commercial Grade Dual Solar Spot Light
The most capable and flexible option here: two 160-lumen heads can illuminate two targets or approach one larger feature from different angles.
- Light output
- 320 Total lumens
- Head layout
- 2 × 160 Lumens per head
- Best for
- Dual beam Large or multiple targets
Get More from Your Solar Spot Lights
Charging position, beam aim and seasonal changes can all reduce performance. Check those parts of the setup before assuming the product itself is at fault.
Sunlight
Available only where the panel can actually see useful sun.
Energy
The day's solar input becomes the night's energy budget.
Focused light
Useful only if the beam lands on the feature you meant to light.
Performance
Good results come from matching charging, aiming and placement.
Start with stored energy
Charge Before First Use
Give the battery a proper charge before deciding whether the light is bright enough or lasts long enough. A weak first night can simply be a weak starting charge.
Protect daily charging
Keep the Panel in Direct Sun
Look at the panel's sky, not just the light's location. Trees, rooflines and walls can make an otherwise perfect lighting position a poor charging position.
Put the beam where it matters
Aim at the Subject, Not the Ground
Aim for the feature itself, not the ground beneath it. With a concentrated beam, a small change in angle can move a surprising amount of useful light off target.
Keep the setup aligned
Recheck Aiming After Weather and Growth
Recheck the mount, cable and panel when plants grow or weather changes. A setup that worked in spring can be partly shaded or misaligned a few months later.
- Better charging Put the panel where charging actually works
- Cleaner beam placement Use more of the output on the target
- Longer runtime Think of runtime as a daily energy balance
- Stable aiming Keep the beam where you originally aimed it
Continue with Greenlytes Lab
Go deeper on the variables behind the recommendation.
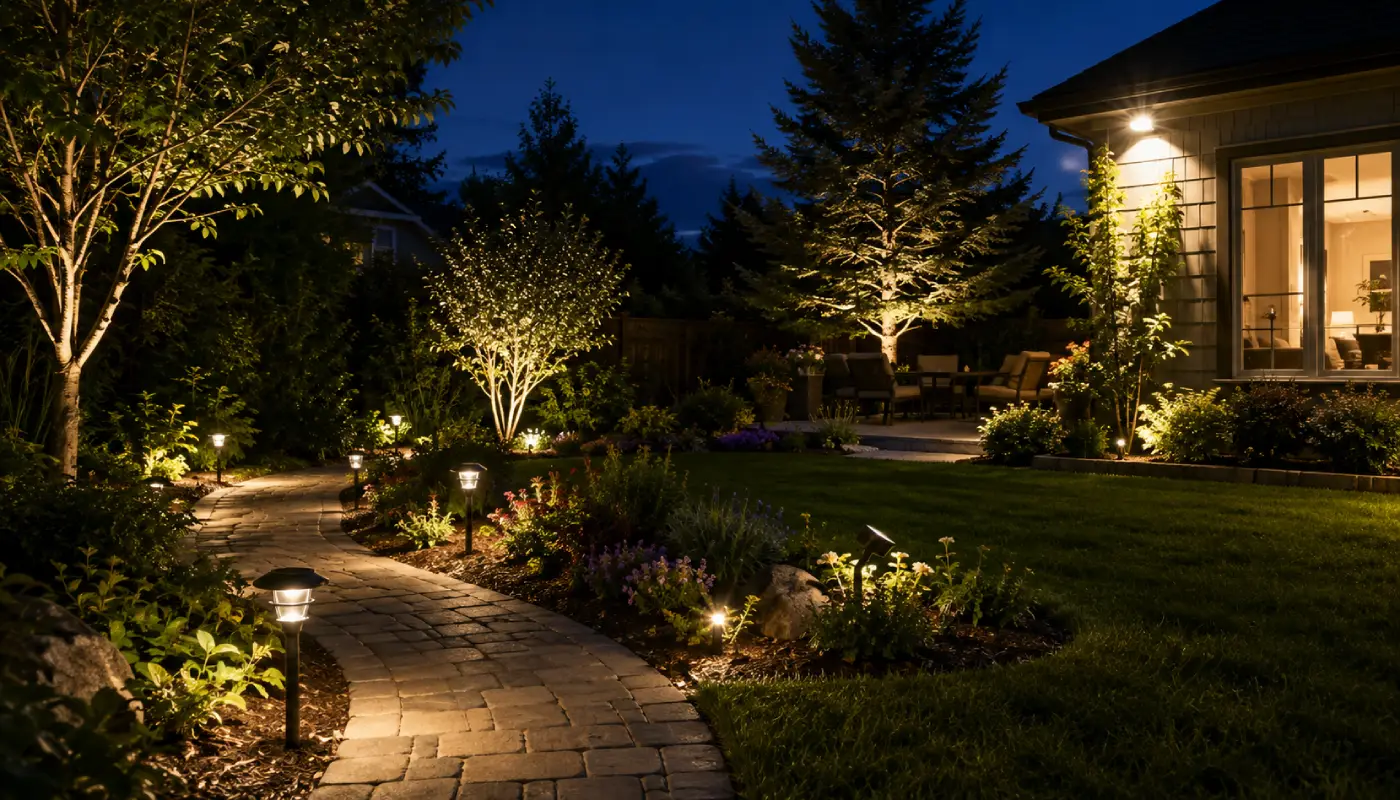
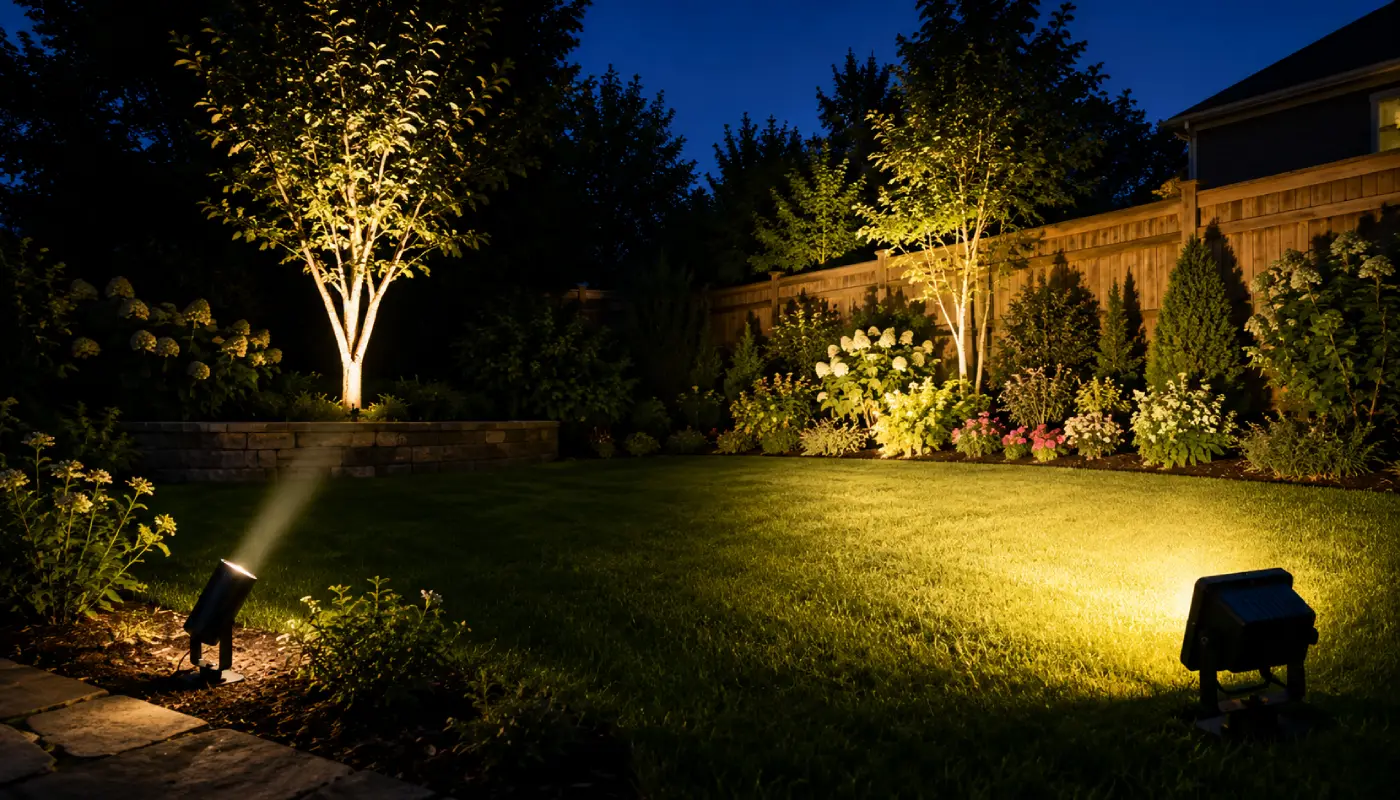
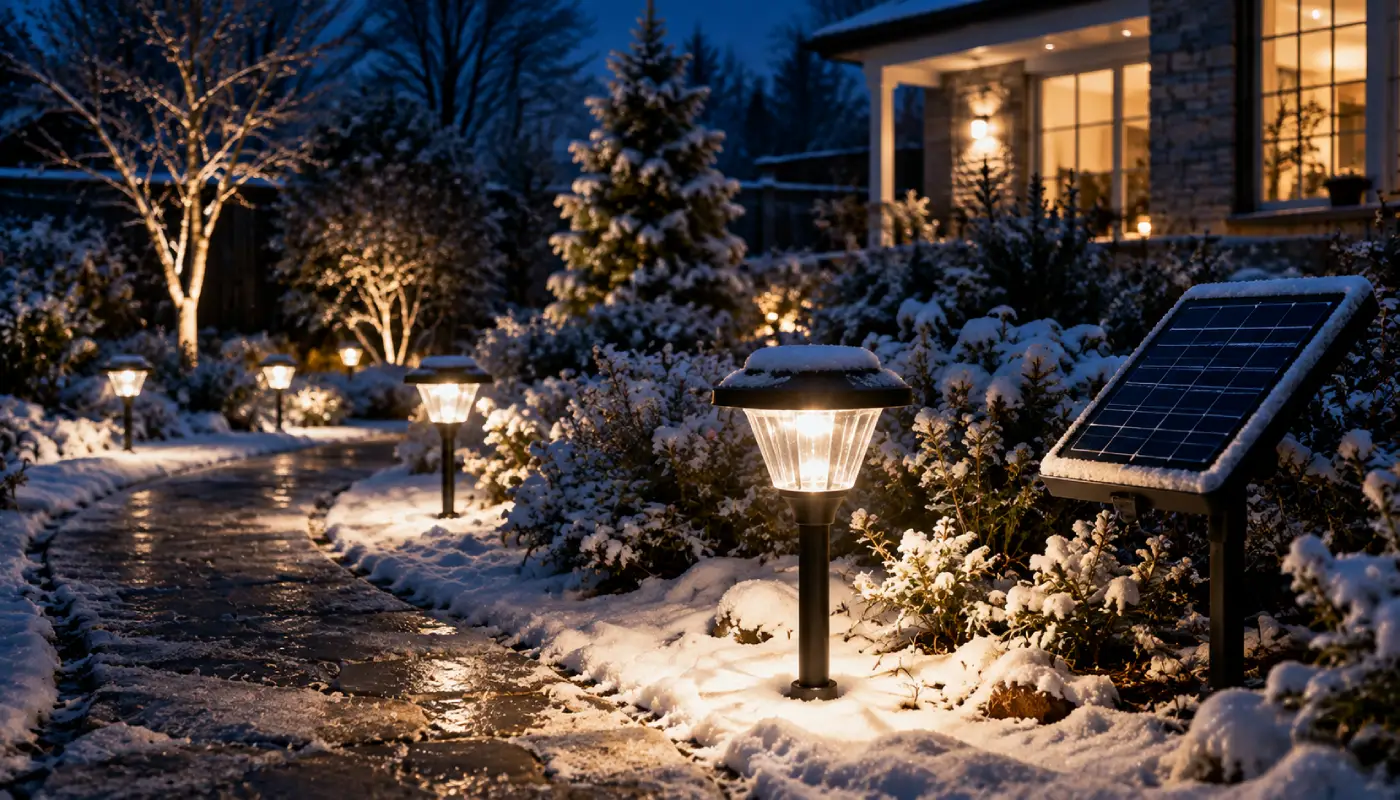
These Greenlytes Lab guides provide the deeper explanation behind the category advice: useful brightness, beam distribution and the effect of weaker winter charging. Use them when a short category answer needs more context or supporting detail.
Why Greenlytes
How I decide what belongs on Greenlytes
I base Greenlytes recommendations on documented specifications, supplier information and the practical job each light is designed to do. When a claim comes from a manufacturer or supplier, I treat it as sourced product information; Greenlytes analysis is the interpretation of what those specifications mean for the buyer.
Specification review
Specifications are compared for what they change in practice: placement, aiming, charging, runtime and the way the light can be used. Headline numbers are not treated as conclusions on their own.
Use-case fit
Each model is matched to a practical job. A tree, sign and wall may all need accent light, but each asks something different from the beam.
Supplier consistency
Preference goes to products backed by clear specifications and supplier information that can be checked, compared and kept current.
Clear trade-offs
Every useful recommendation needs a boundary: where the product fits, where it becomes less suitable and when another type of light makes more sense.
Ongoing review
Recommendations are reviewed when specifications change, products are updated or a better-fit option becomes available.
Buyer-first selection
A smaller, clearer selection is more useful than a large catalog of products that solve the same problem without a clear reason to choose them.
Editorial review: Armand, Greenlytes · Updated
“My starting point is always the same: what are you trying to light, and what has to be true for the beam and the solar panel to work in that exact place?”
01 How bright should a solar spot light be?
Lumens tell you how much light leaves the fixture. They do not tell you how much of that light lands on the tree, sign or wall you care about. Beam width, distance and aiming decide how concentrated that output becomes.
A small sign close to the light and a broad tree canopy farther away can need very different beam behavior even if both are described as “landscape lighting.”
Greenlytes insight
Rated output is only the starting point. Useful light is what
actually reaches the feature.
02 What is the difference between a solar spotlight and a solar floodlight?
A spotlight concentrates its output onto a defined subject. A floodlight spreads the same basic idea of illumination across a much wider area.
Start by deciding whether the job is to reveal one feature or illuminate an area. Once that is clear, lumen numbers become much more meaningful.
Greenlytes insight
Choose the lighting job first. Compare brightness only after
you know whether you need focus or coverage.
03 Where should I place a solar spotlight?
Think of the installation as two locations, not one. The light needs a position where its beam can reach the subject without creating annoying glare.
The panel needs something different: useful sun. That is why a separate panel can be more than a convenience. It lets the light sit where the scene demands while the panel goes where charging works.
Greenlytes insight
The best place for the beam may be the worst place for the
panel. Solve those two problems separately when you can.
04 Do solar spot lights work during winter?
Yes, but winter exposes the energy budget. The nights are longer just as the days available for charging are shorter, and cloud or low sun can reduce what the battery receives.
Winter performance is best judged from the charging conditions as well as the light itself. Keep the panel clear and watch for seasonal shade when runtime begins to fall.
Greenlytes insight
When winter performance drops, check the energy coming in
before blaming the light going out.
05 Does the solar panel need to face the same direction as the spotlight?
No. With a separate panel, the light and the charging surface can face completely different directions. That freedom is often the point of the design.
An integrated panel is neater, but it couples two decisions that do not always agree: where the beam should point and where the sun is. In an open site that can be fine; under planting or beside a wall it can become a real constraint.
Greenlytes insight
A separate panel earns its keep when light placement and solar
placement disagree.
06 How far can a solar spotlight illuminate?
There is no honest distance number from lumens alone. Beam angle, optics, mounting height, aim and even the surface being lit all affect how far the result still looks useful.
A narrower beam can appear stronger farther away because it spreads the available light over less area. The trade-off is coverage: reach and width are competing demands.
Greenlytes insight
Throw distance is a beam problem as much as a brightness problem.
07 How do I choose the right solar spot light?
Start with the scene: what are you lighting, how large is it, and where can the fixture realistically sit? Those answers narrow the useful beam and mounting choices quickly.
Then solve the solar side: where can the panel get sun, how much nightly runtime matters, and whether the light and panel need to be separated. At that point, comparing the remaining models is much easier.
Greenlytes insight
Target, then beam, then placement, then energy, then product.
That order avoids a lot of bad comparisons.
Make a confident choice
Ready to choose the light that fits the job?
Go back to the products with the target, beam, panel position and energy needs in mind. If one of those still feels unclear, Greenlytes Lab explains the underlying variable in more detail.